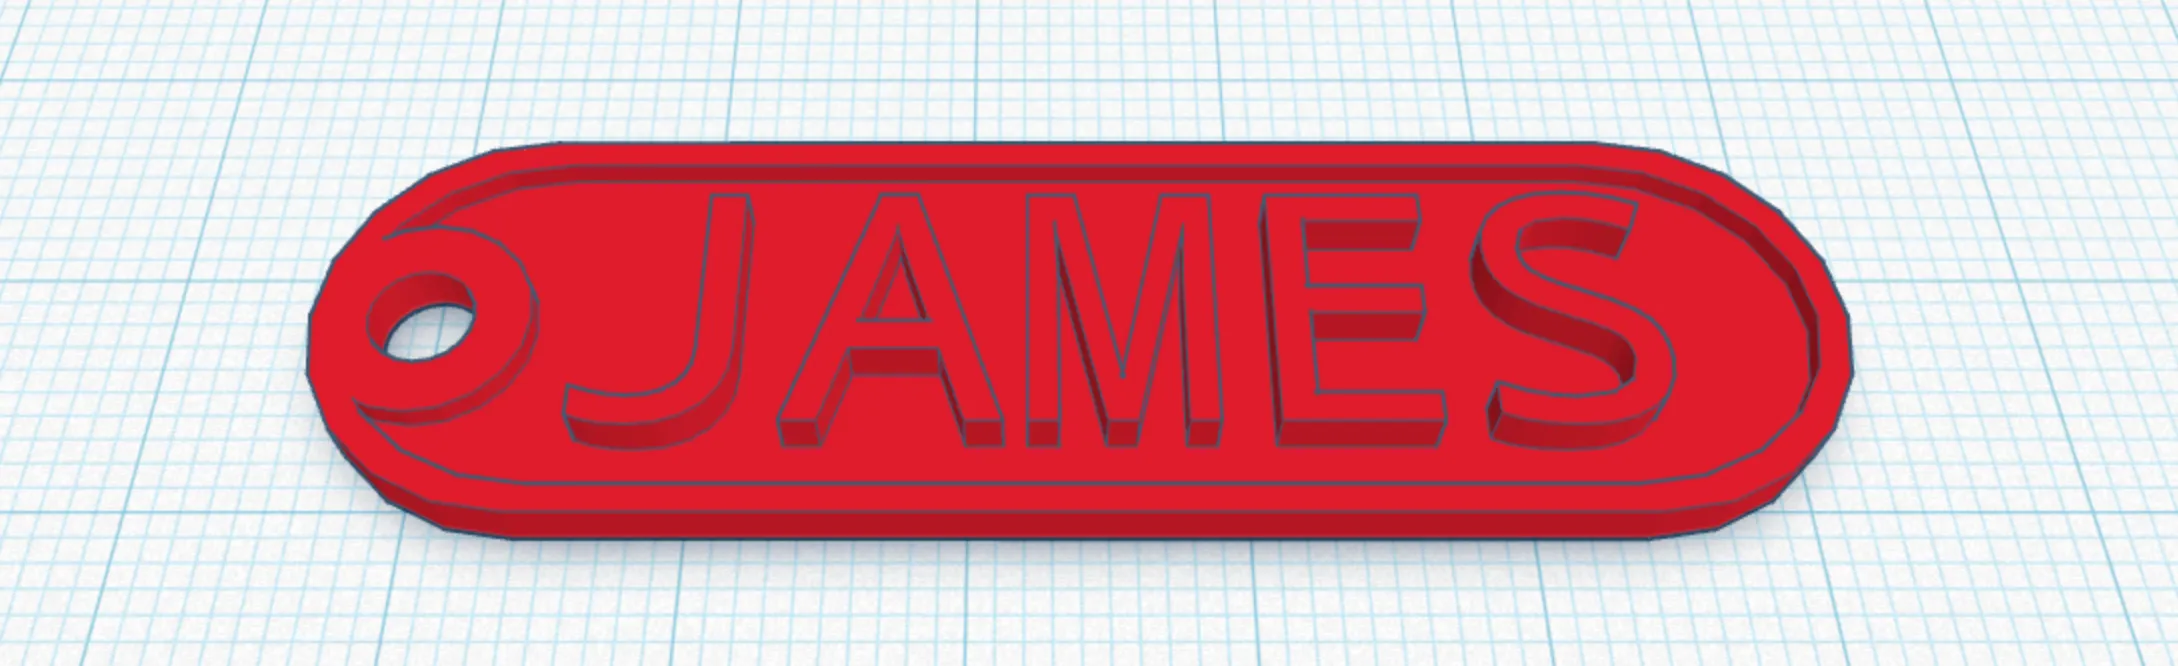
Welcome Back Fair: Creating a Simple Nametag in TinkerCAD
Welcome! This guide will walk you through designing your very own nametag in TinkerCAD. No prior experience needed!
Mouse Controls
Before we begin, here’s how to navigate the workspace:
- Zoom in/out: Scroll wheel
- Pan the view: Middle mouse button
- Orbit/rotate view: Right-click and drag (or use the cube in the top-left corner)
Use CTRL + Z to undo any changes you make.
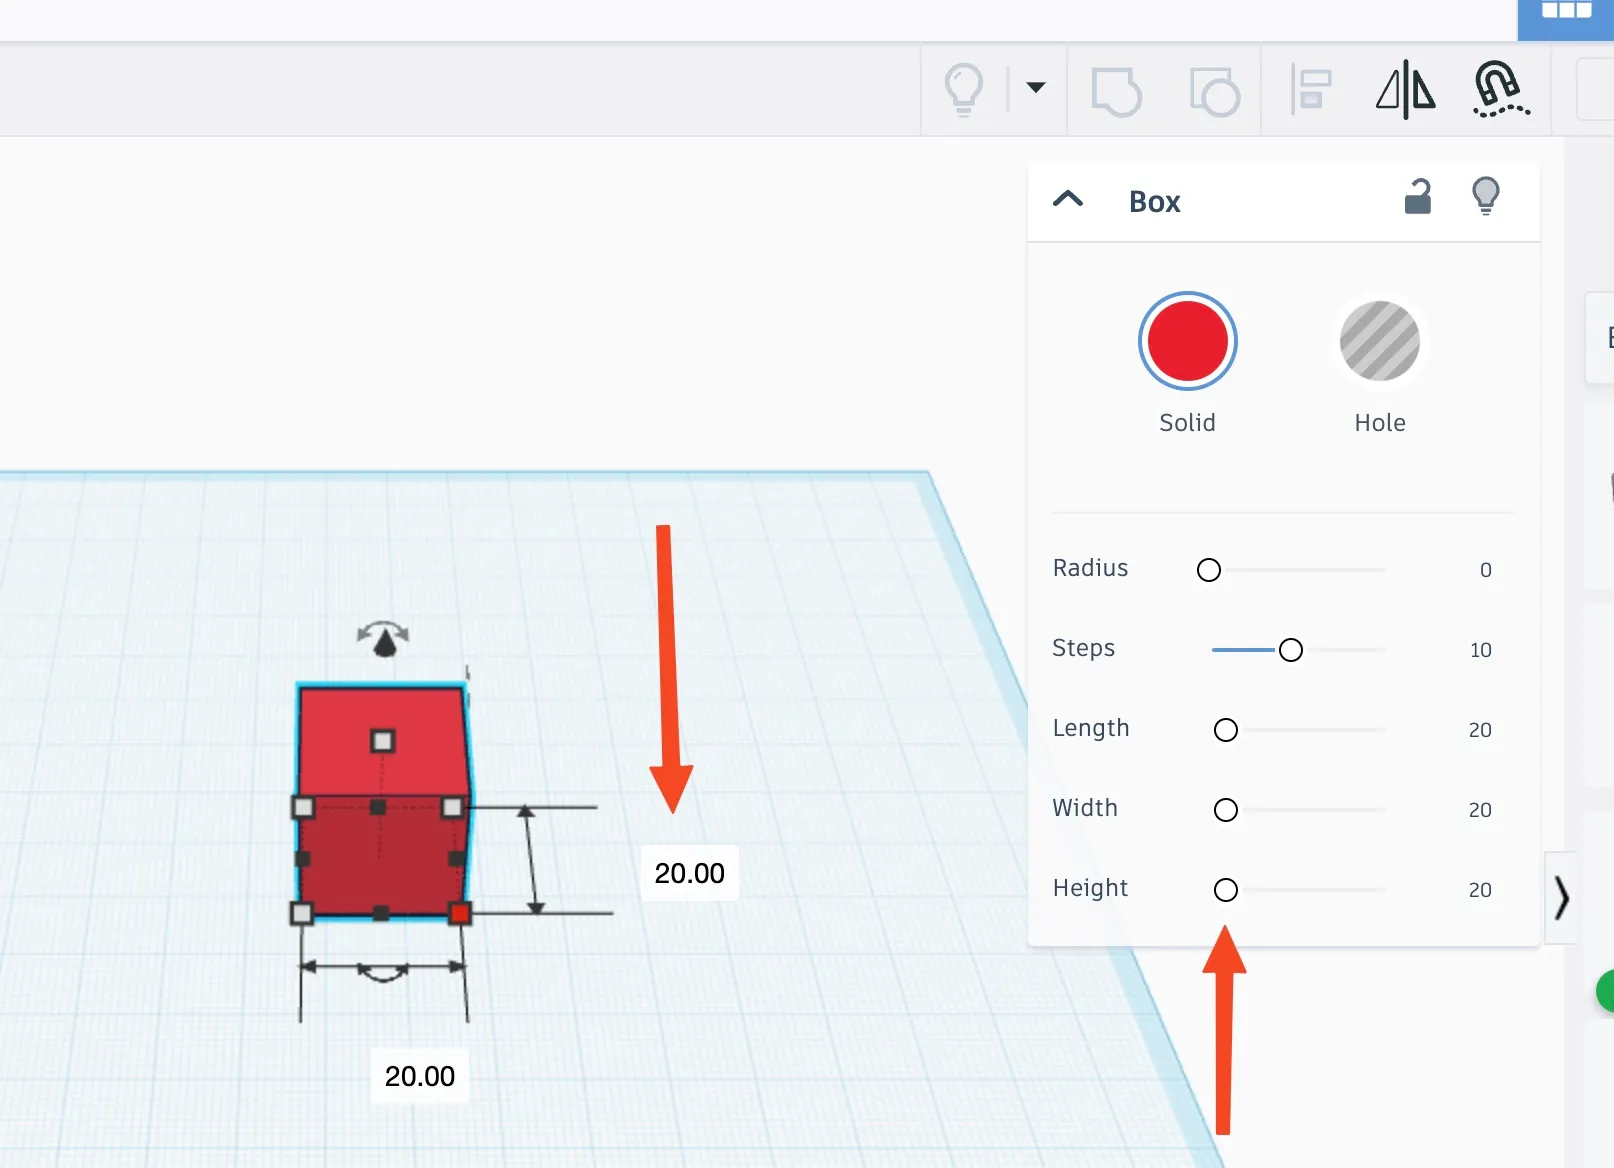
Step 1: Create the Base Shape
- Drag a box into the editor.
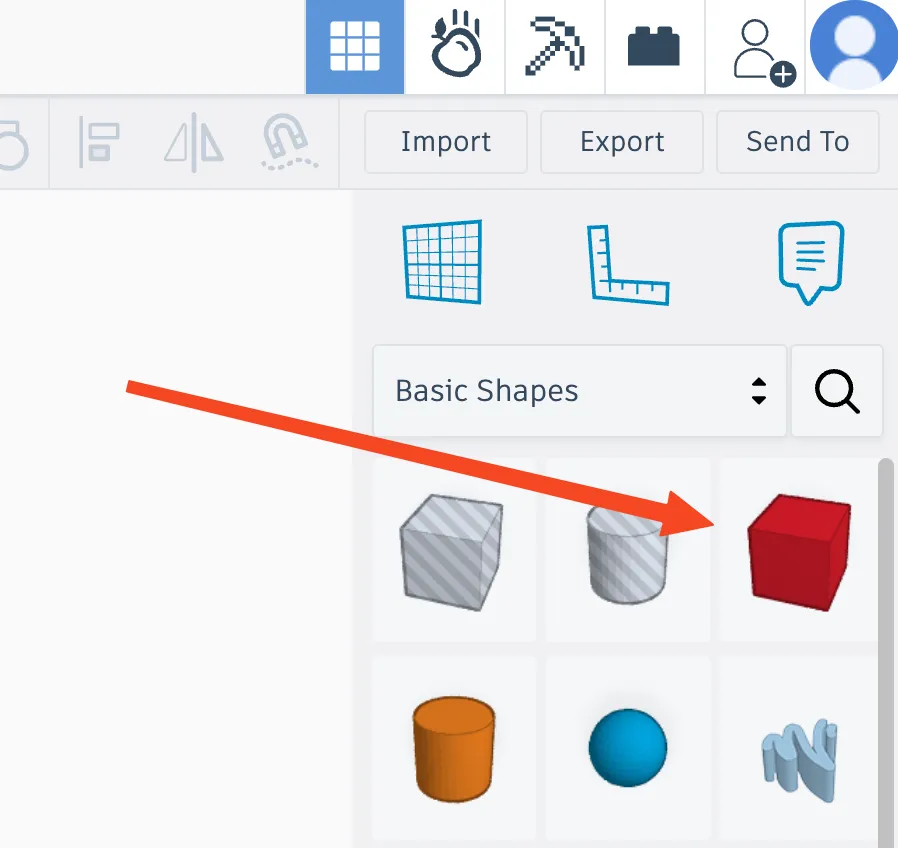
- Adjust the size using the white dots, or click the grey squares to type the exact dimensions:
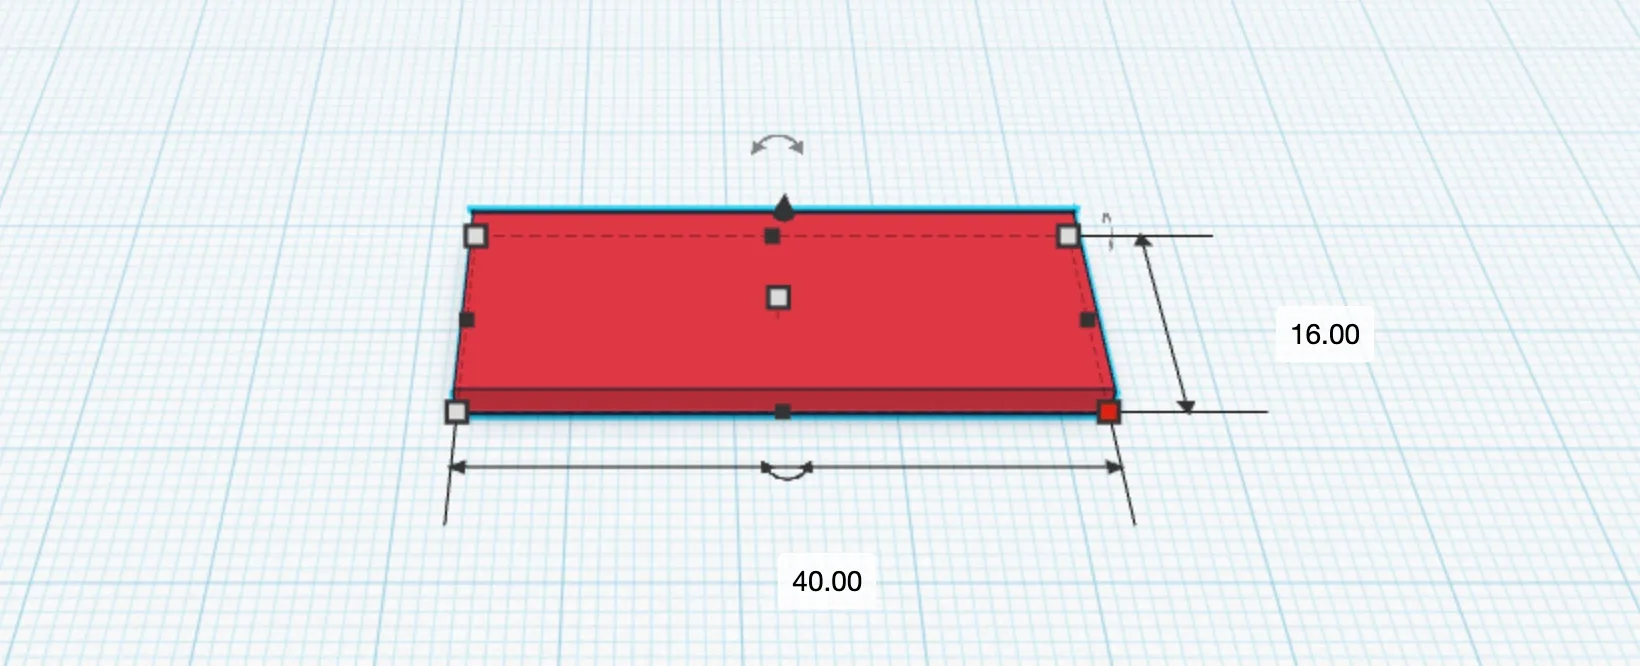
- Length: 40mm
- Width: 16mm
- Height: 2mm
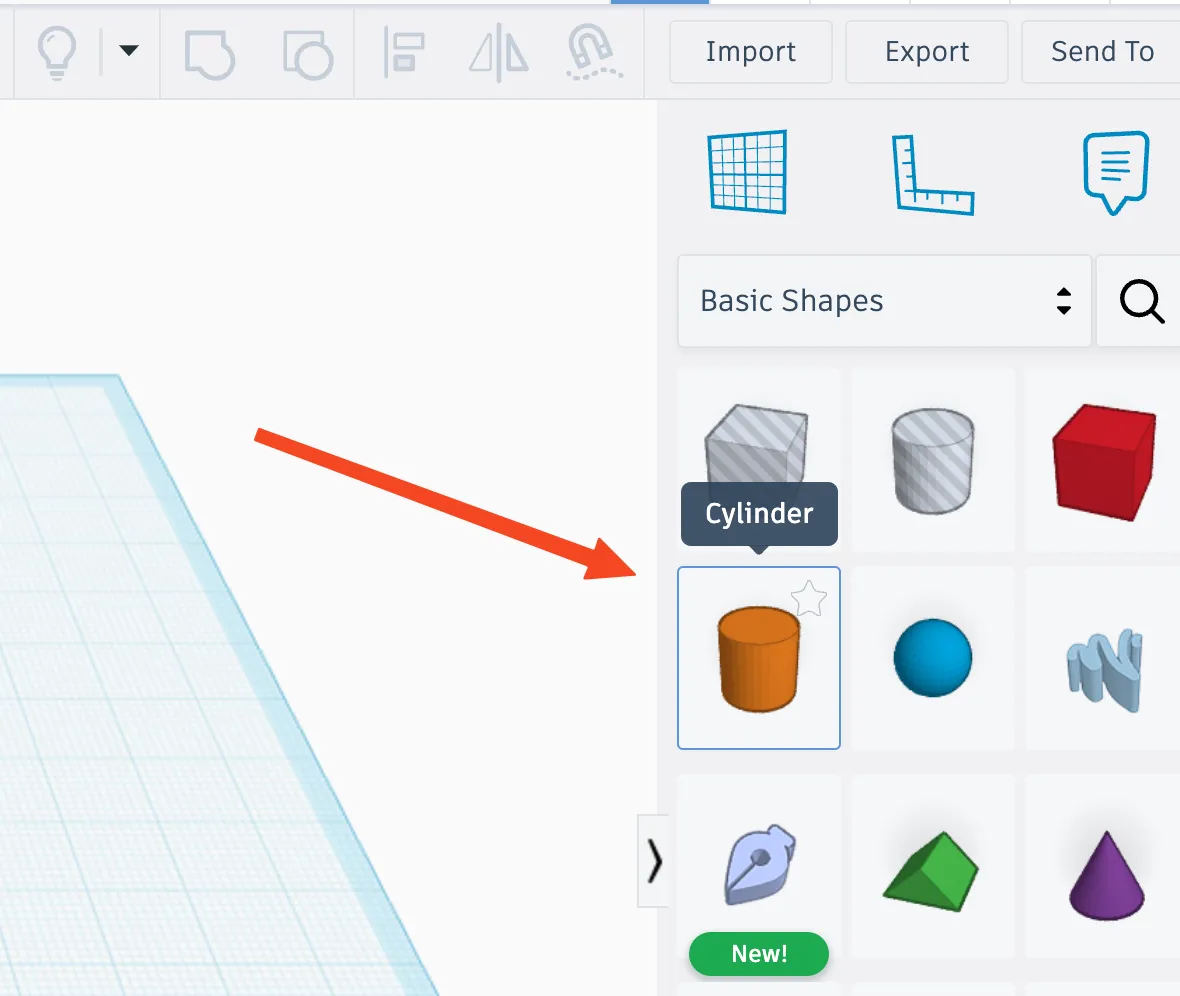
Step 2: Add Rounded Edges
- Drag two cylinders into the workspace.
- Set their dimensions as follows:
- Height: 2mm
- Diameter: 16mm
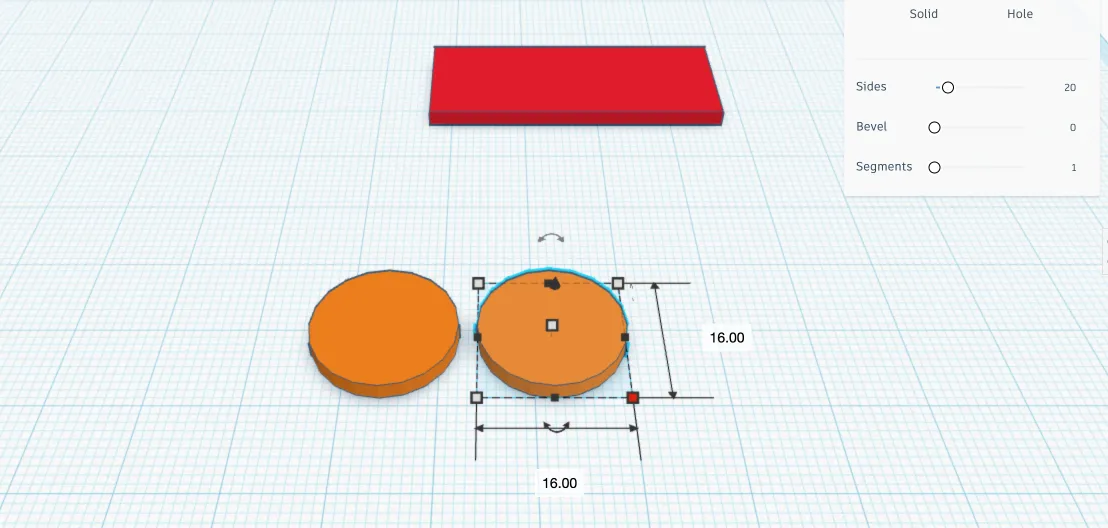
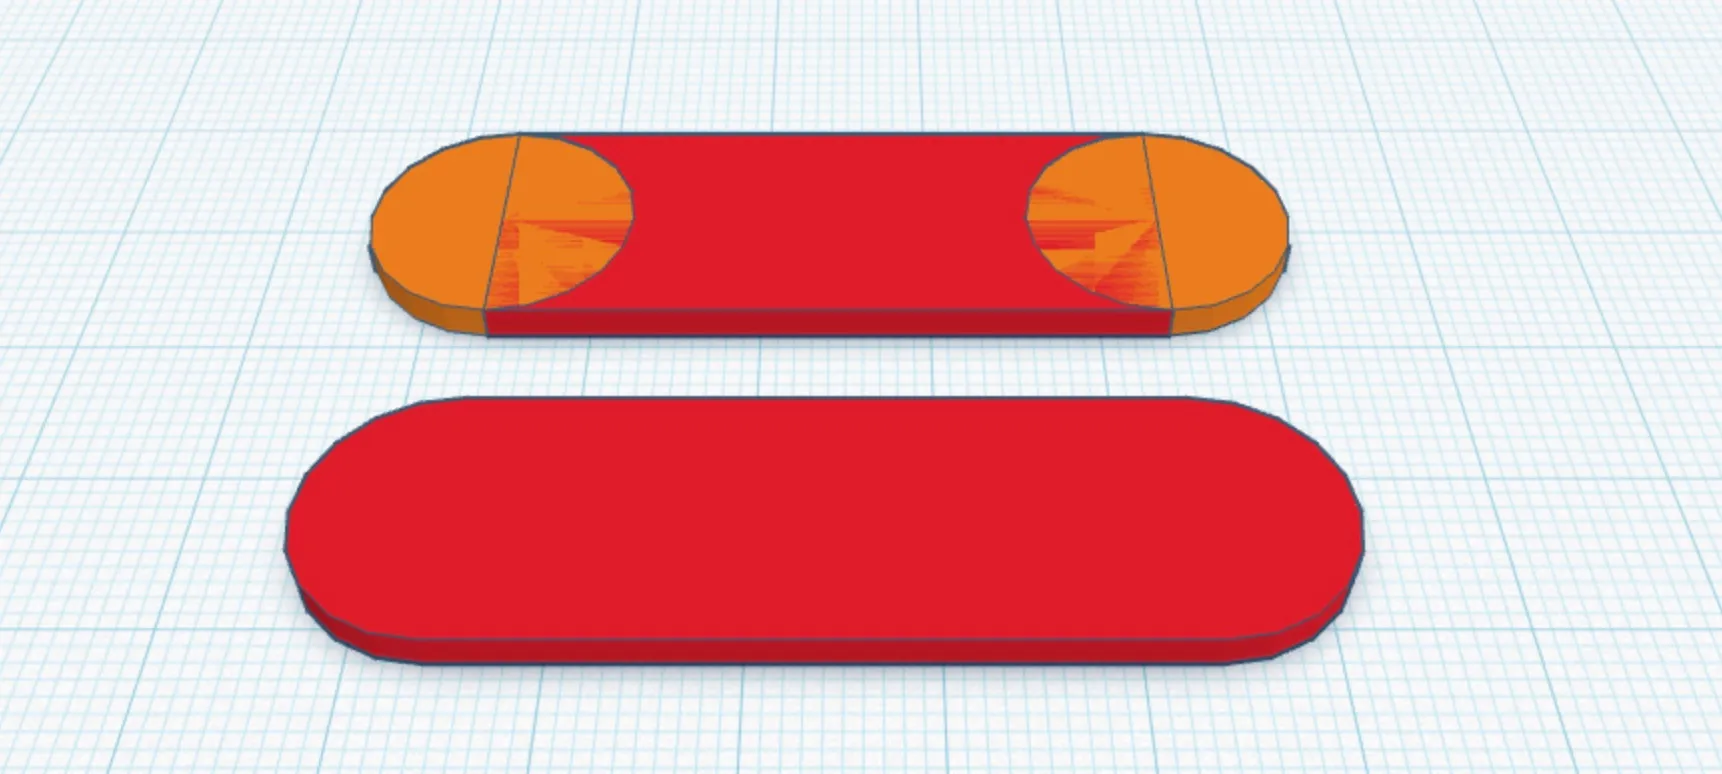
- Place them at both ends of the rectangle to create rounded edges.
- Select everything and click the Group button to merge them.
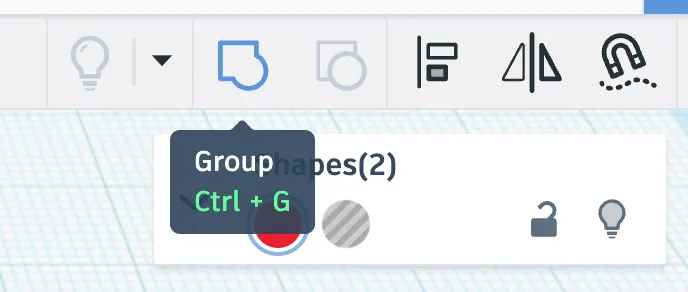
This is called boolean modelling, which we use to create more complex shapes by combining multiple shapes together or removing parts of one shape from another.
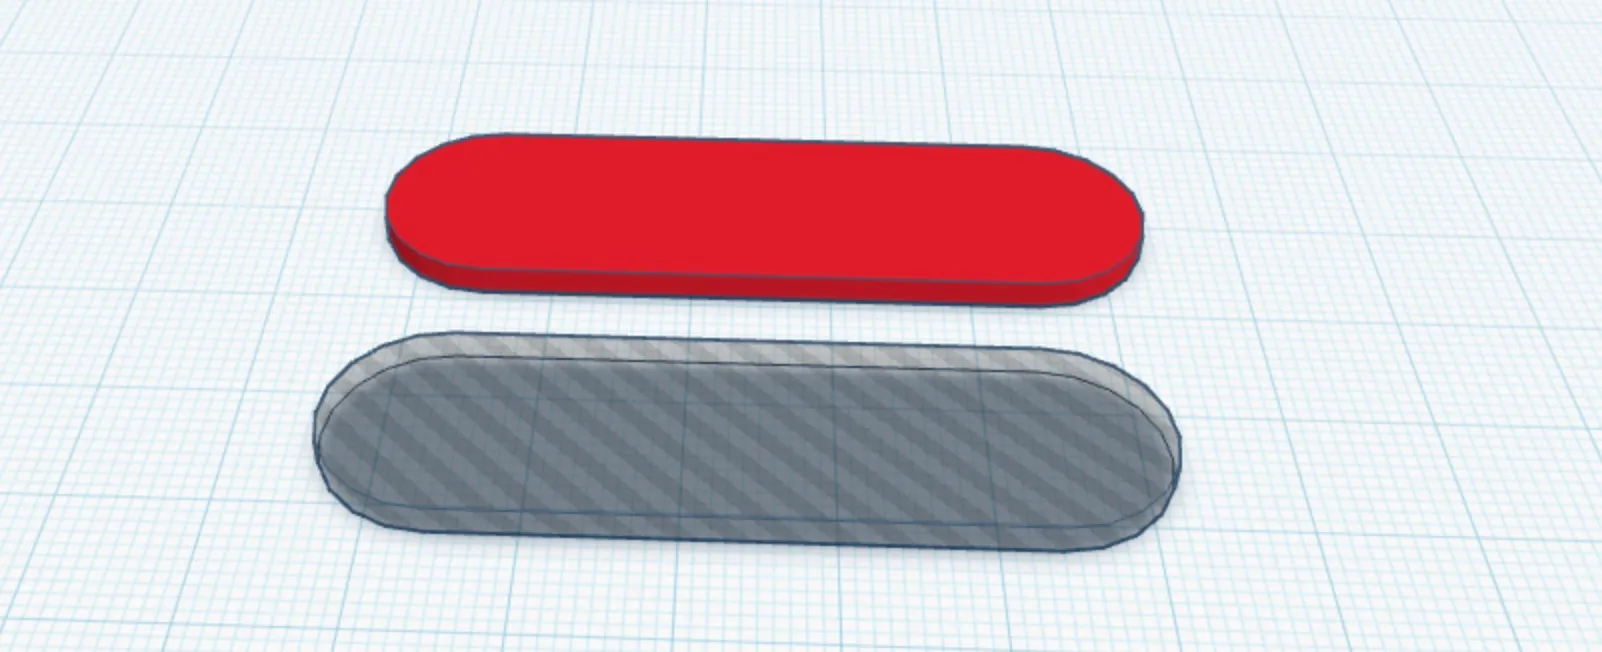
Step 3: Create an Outline
- Select, then copy and paste the shape (Ctrl + C, Ctrl + V).
- Convert the second shape into a hole (select it and choose the “Hole” option in the Shape menu).

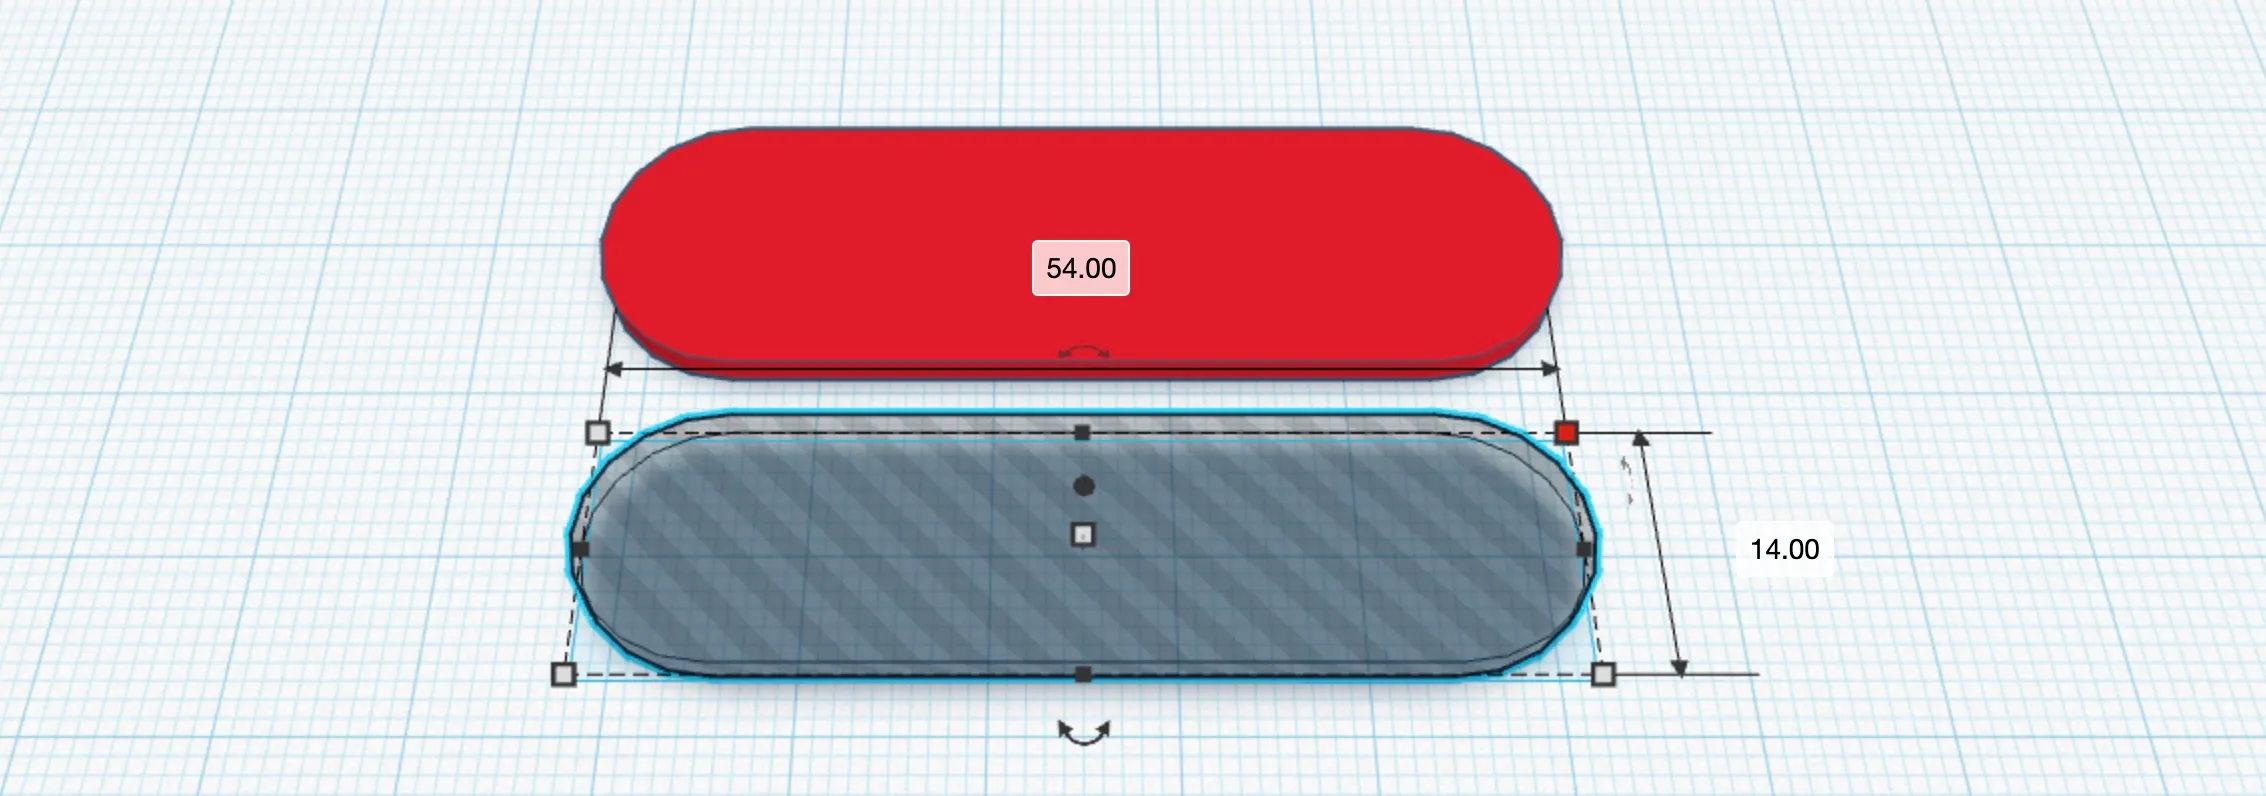
- Resize the hole shape:
- Length: 54mm
- Width: 14mm (2mm smaller than the original)
- Raise the hole shape 1mm off the ground by dragging the cone handle just above the shape (this is easy to miss, check the image below to see where it is)
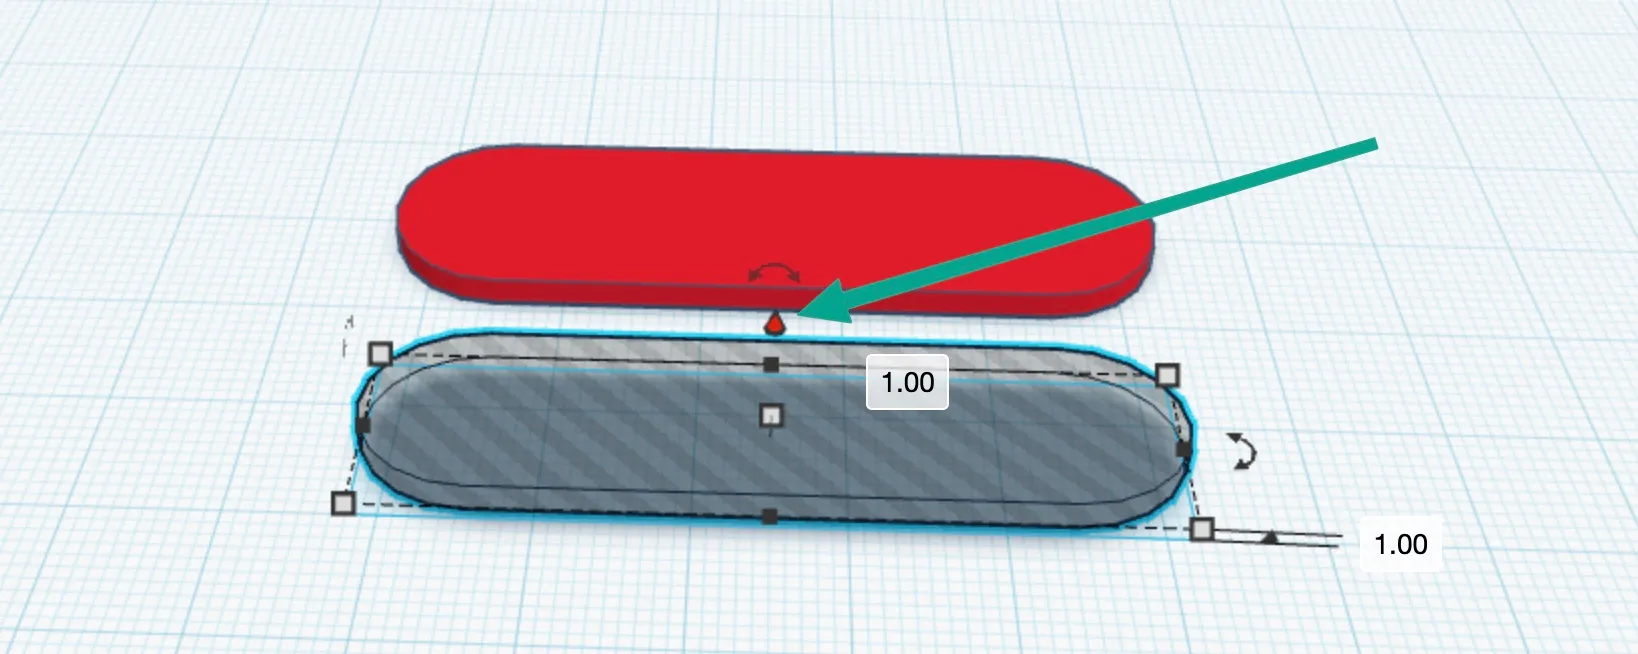
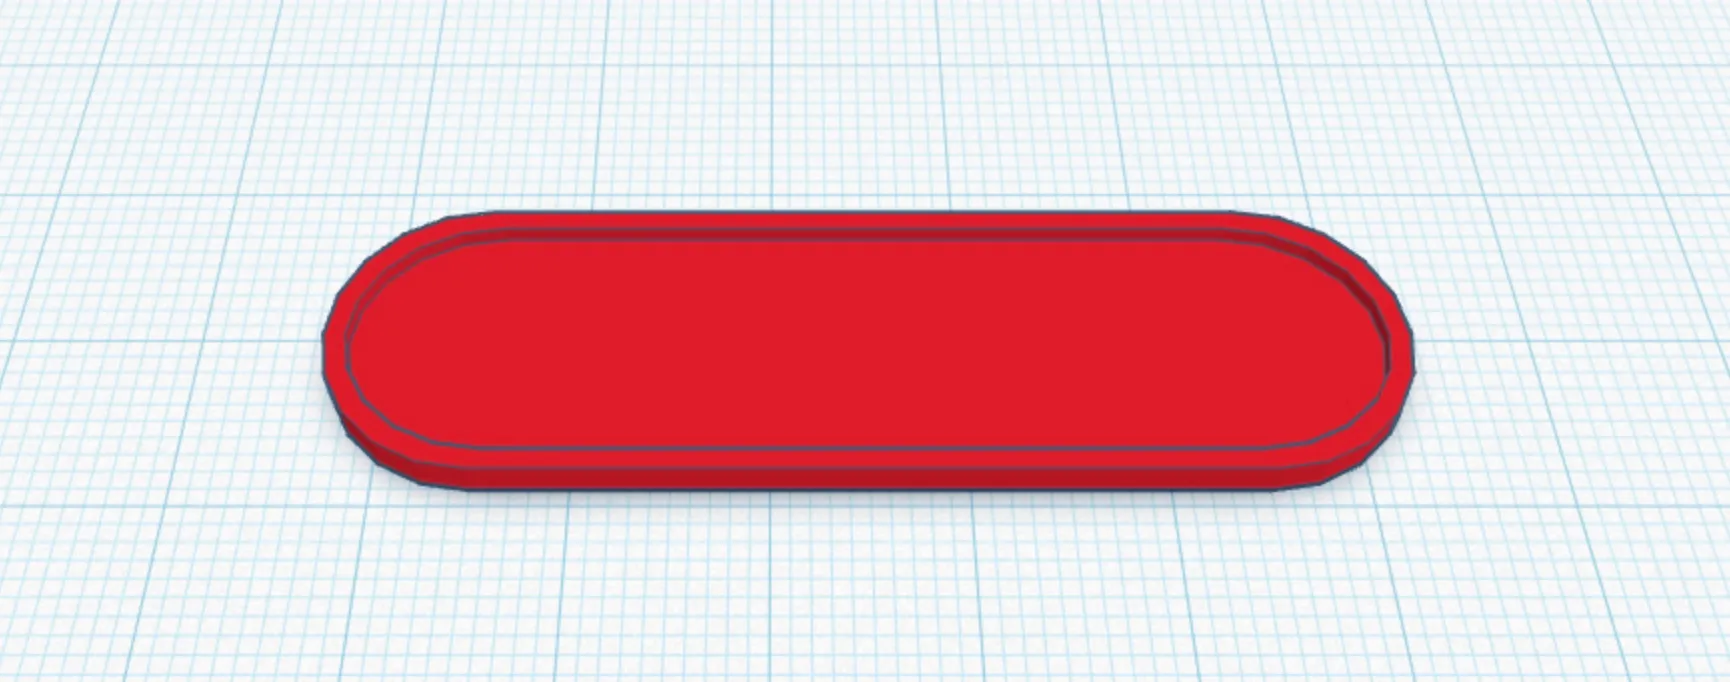
- Align the hole shape on top of the original and group them together.
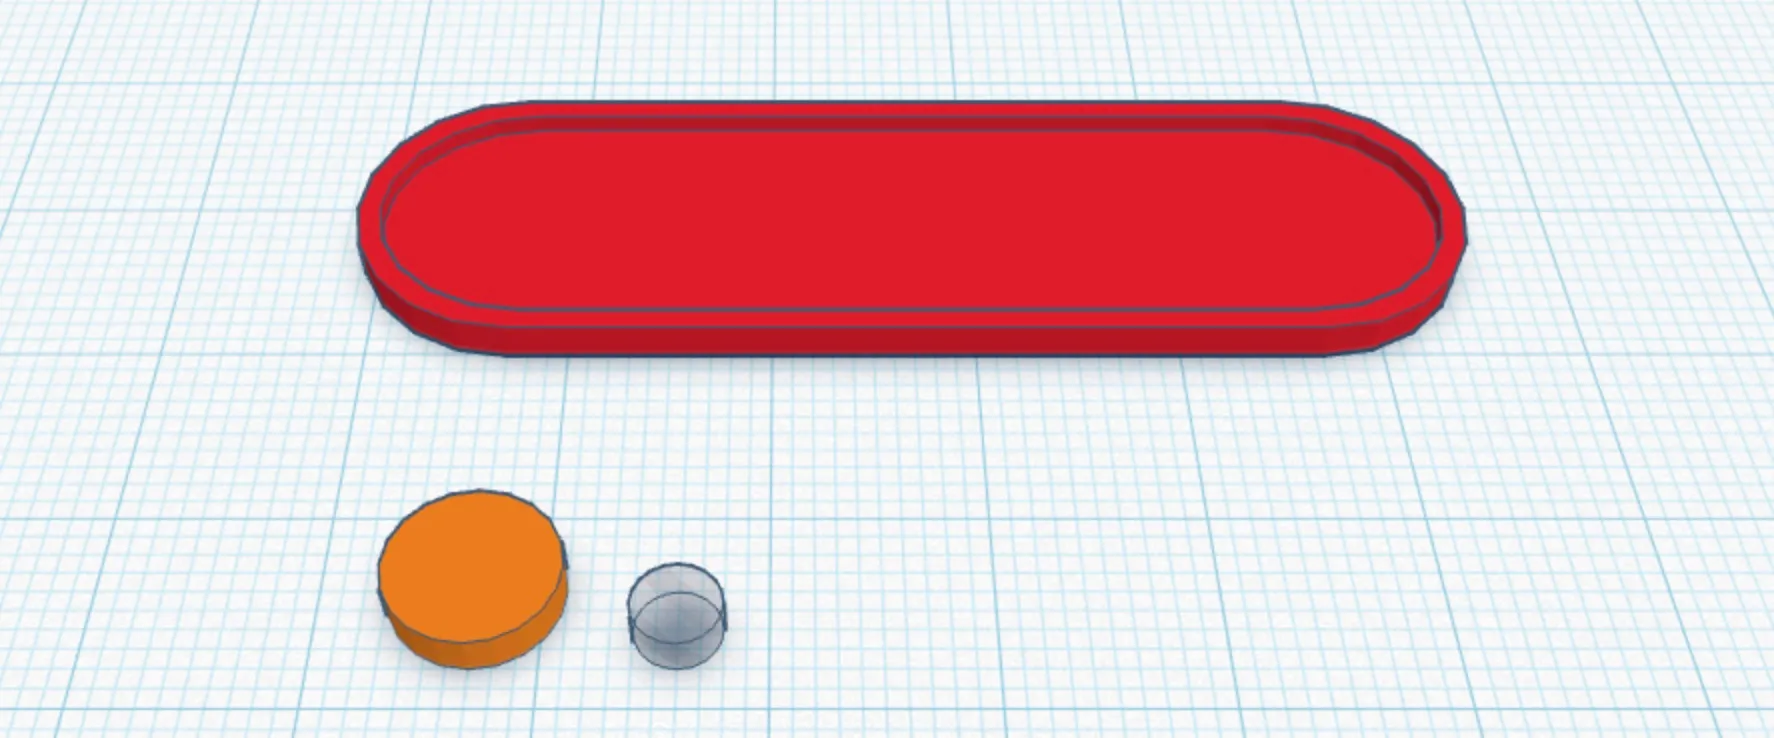
Step 4: Add a Keyring Hole
-
Drag two cylinders into the workspace:
- One 8x8mm and 2mm tall
- One 4x4mm and 2mm tall
-
Make the smaller cylinder a hole.
- Place the smaller cylinder inside the centre of the larger one and move them both to the left corner of the nametag.
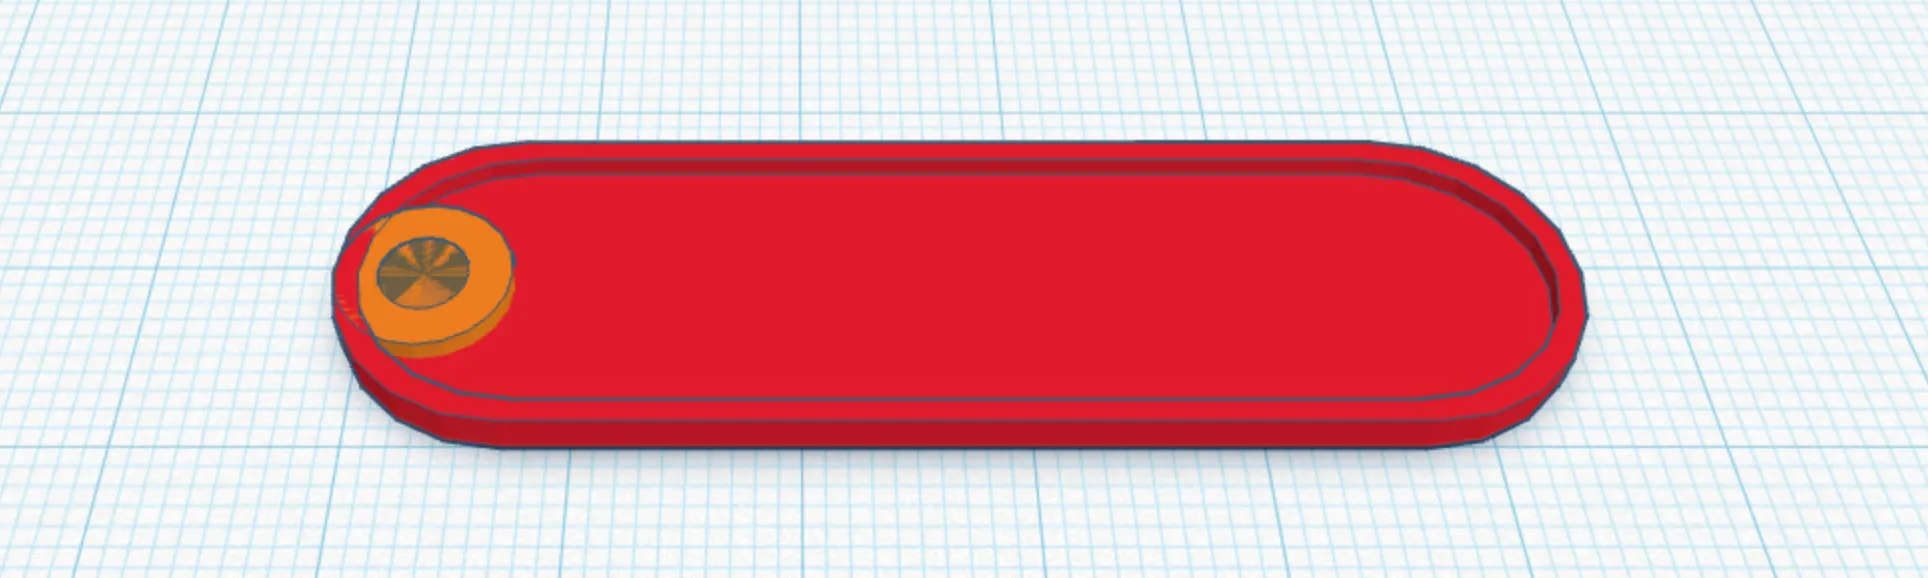
- Group all 3 shapes together, and this should create a hole for a keyring.
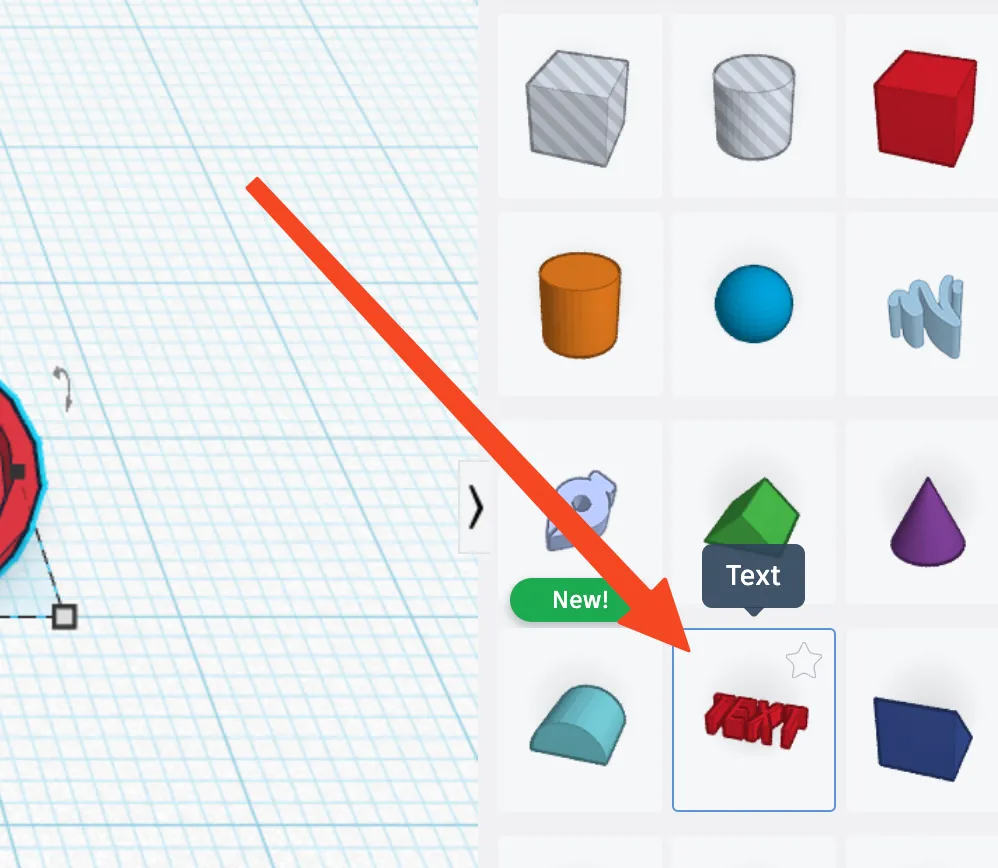
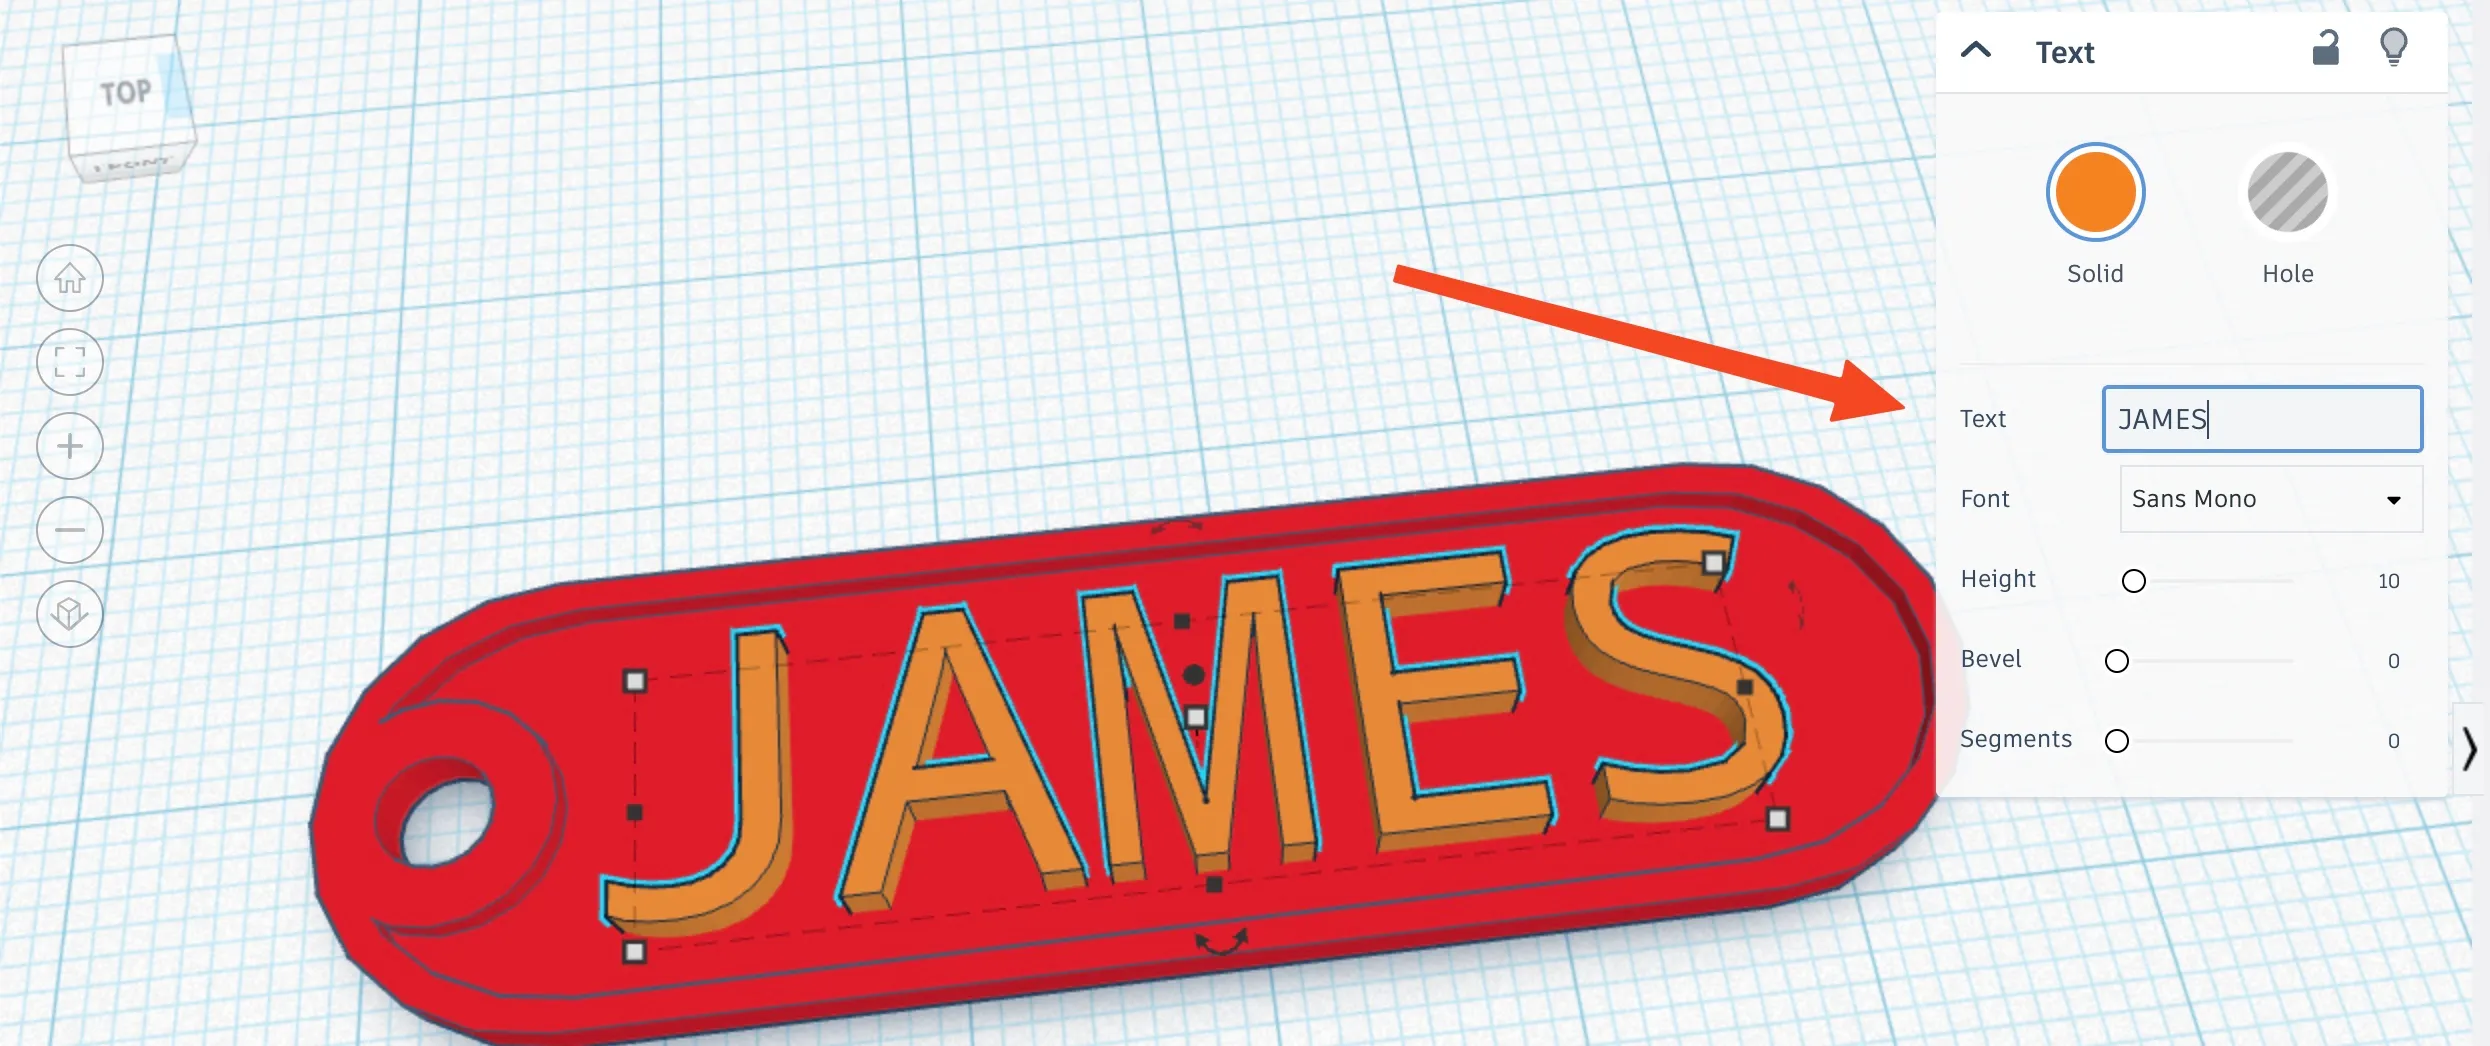
Step 5: Personalize with Your Name
- Drag a text object onto the workspace.
- Change the text to your name (or initials if needed for space).
- Adjust the size and font to fit within the nametag.
- Position the text in the center of the nametag.
- Select all objects and group them together.
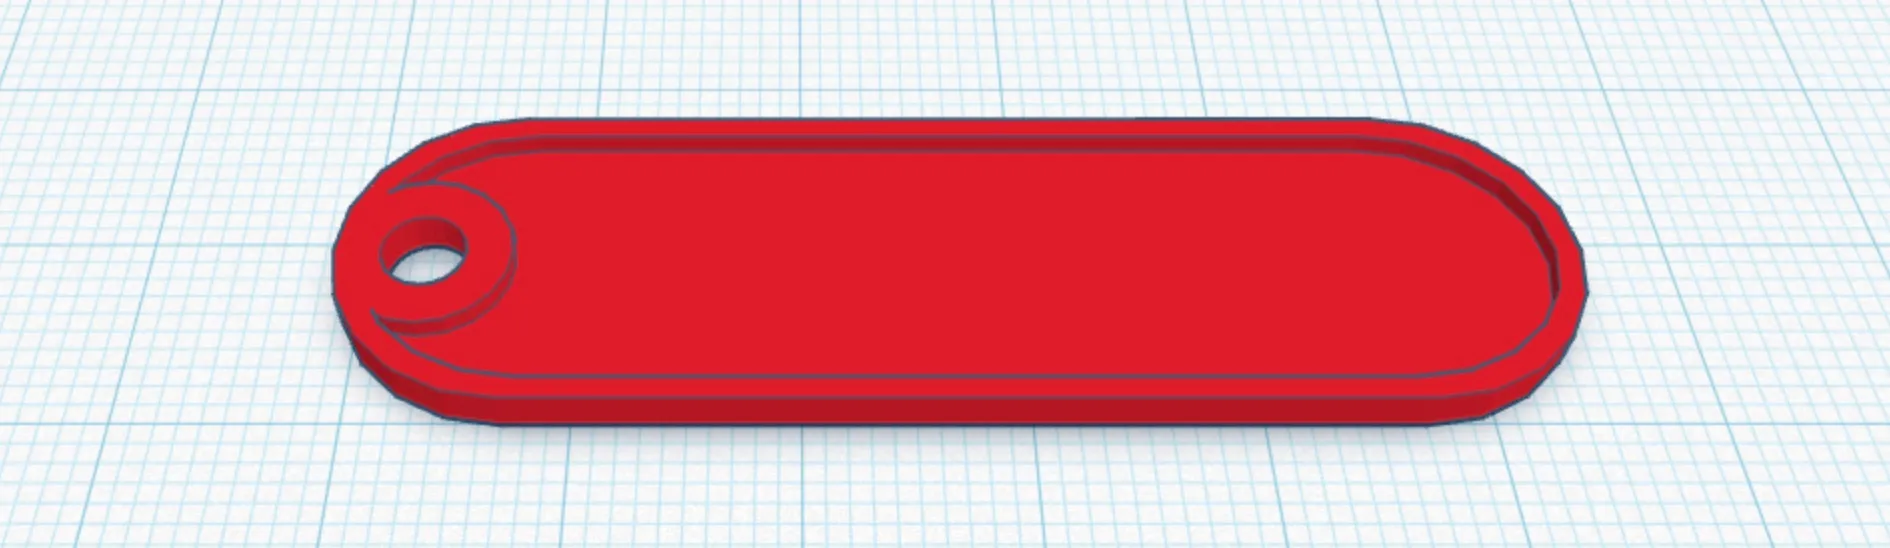
Final Step: Get It Printed!
Once you’re happy with your design:
- Save the file with your name and student number.

- Ask a helper to export the file for printing.
- Come back in a couple of hours to pick up your nametag!
Happy designing! 🎨✨